Behind the Scenes – Photo Editing

Believe it or not, one of the most time-consuming parts of my job is to edit the listing photos. You may think that after I download the photos, all I need to do is select the best, making a few tweaks here and there. Oh, if it were only so simple!

Photo editing can be quite time-consuming. In general, I find  the time I spend editing is at least equal to the time I spend in the field. You may be curious about what’s involved in the editing, and I’m happy to share.

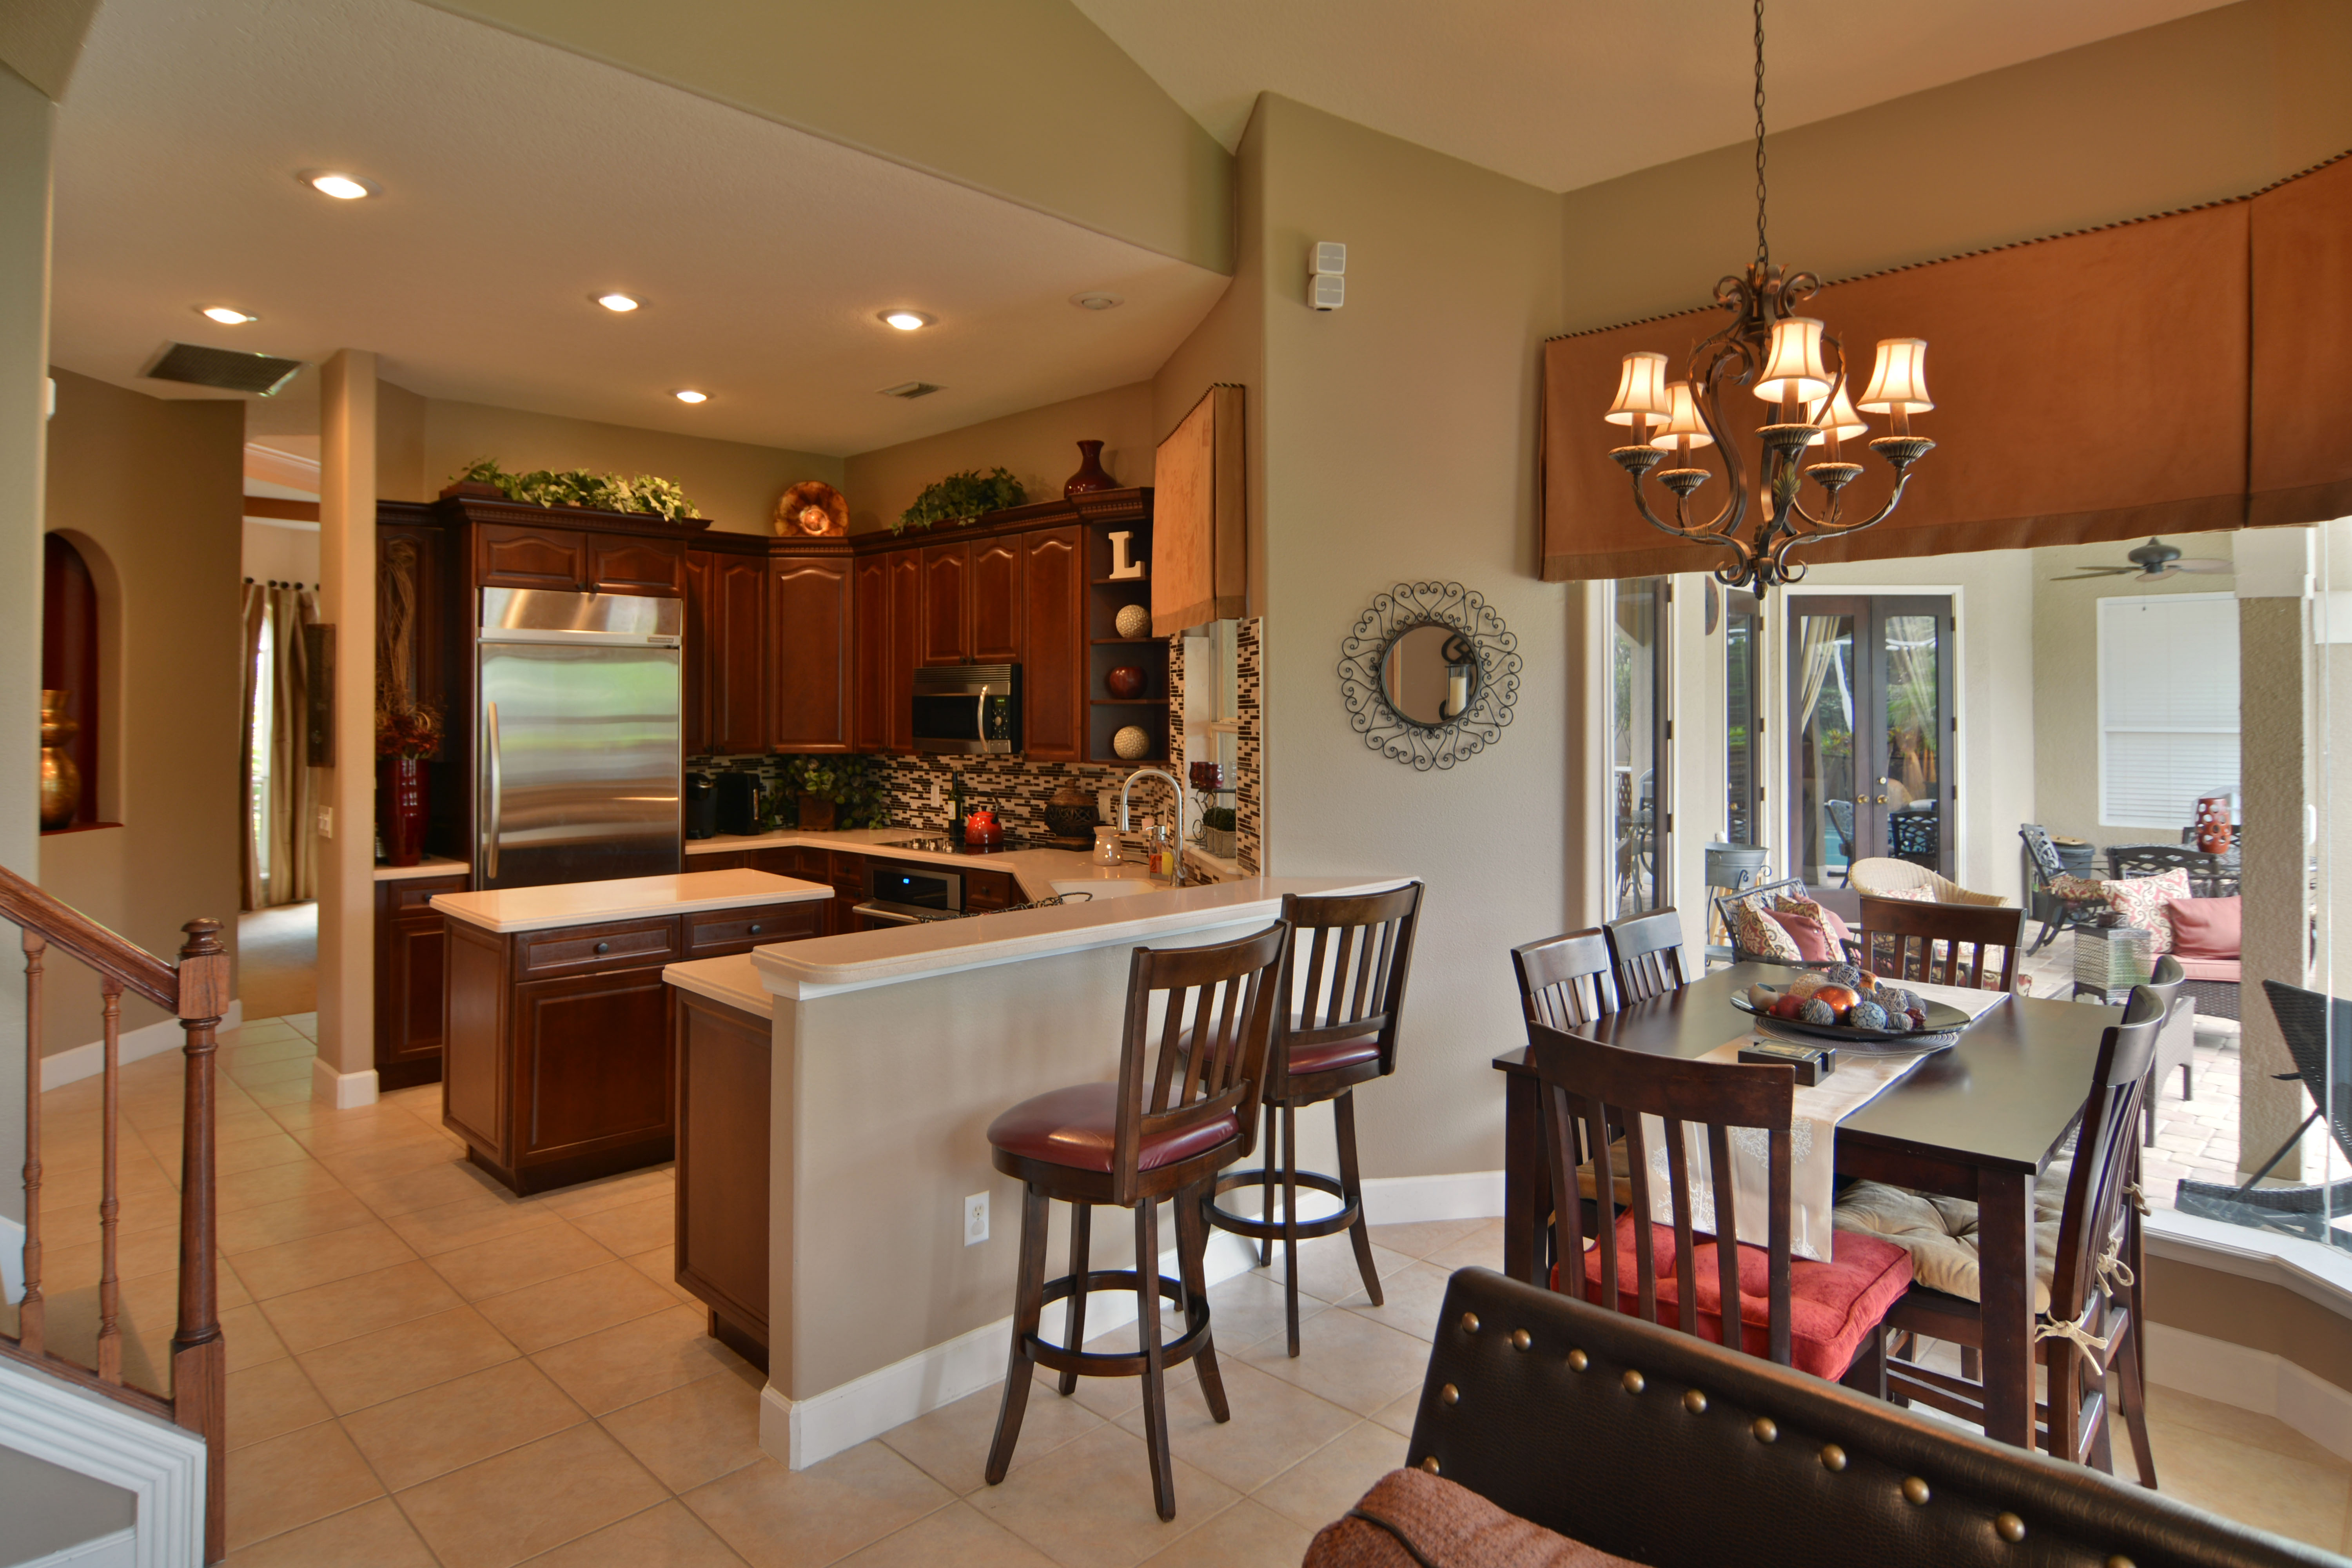
Distortion Correction – I use a wide-angle lens, and when I take an image that’s fairly wide, I’m going to get some distortion. Have you ever seen photos of kitchen cabinets where they look like they are bowing backwards? Or a skewed door or window frame? That’s distortion. Almost all interior shots need distortion correction.
Continue reading Behind the Scenes – Photo Editing

Using Drones

I once had a request for an aerial shot of a lakefront home. I don’t have a drone (or access to a private plane) but that did get me looking into drones and their use commercially.

You can walk into any Best Buy and buy a drone, and have recreational fun with all its features, pretty much without any care (OK, watch out for power lines). The emphasis is on “recreational.” Once you start to use the drone as part of a business venture, it’s no longer considered recreational; it’s commercial, and that’s when the FAA steps in. If you are going to be paid for providing drone services, or using one as part of your own business, you need to get an FAA exemption to their rules for unmanned aircraft. You get the certification by stipulating certain things, such as not flying it above a certain height.

If you are  thinking about contracting out for drone services, it may be a good idea to make sure your provider has the proper credentials. Agents, you may want to talk to your broker about how they feel about this, and what their expectations are. It’s all about liability. Again, think about accidentally clipping power lines. And we’ve all heard on the news about drone operators getting too close to aircraft.

For more information on the FAA regulations, click here.

My Approach to a Shoot

As a creature of habit, I generally have a certain way that I go about my shoots. When I arrive, I will normally shoot the exteriors of the home first, assuming that we have nice light and good weather. Since I’ll be at the home 1-2 hours, the light will change as time passes, As such, I’ll take the opportunity at the end of my shoot to assess whether or not the lighting on the home has improved. Sometimes I’ll end up re-shooting the front or back if I like the way the sun illuminates the property better than when I first arrived.

After exteriors, I’ll work the “heart of the home” – living and dining space, followed by bedrooms and baths. My goal is to photograph these rooms from various angles, and to show off not just each room but how one room flows into another. This helps the viewer get an idea of the home’s layout.

As I work in these areas, I will move things that I don’t want to draw attention to. The things I move most often are area rugs that are not anchored by furniture. These are typically door mats and kitchen and bath throw rugs. I pick these up because I want viewers to look into the room, and not at the pop of color on the floor (and it’s also generally nice to show off the flooring). I will also remove dish towels in kitchens and any excess “stuff” on the kitchen counters. Counters don’t have to be sterile looking, just not too cluttered. Continue reading My Approach to a Shoot

Staging Tips

You’ve hired me because you need someone to take great shots, hoping to attract tons of buyers to your listing. And when I arrive, it appears that the home is not really prepared to be photographed. This actually happens more often than it should, my friends.

The solution is relatively simple – give the sellers a few simple staging instructions.

  • Reduce clutter. Take a look around the house and see how much stuff is on counters, coffee tables, end tables, etc. and squirrel things away.
  • Remove area rugs. These are the types of small rugs you find in kitchens and baths. It’s fine if they are there for showings, but when photographing the room, I like buyers to look into the room and not at the pops of color on the floor.
  • Make beds, and make them as tidy as possible.
  • Clean mirrors and glass shower doors. There’s usually no concern about dirt showing up anywhere else, but it WILL show up in bathrooms.

The good news is that when I see clutter, I try to eliminate it. I’ve made beds, removed rugs and yes, cleaned mirrors. So, I’m on your side and do my best to get the best result for you.  But the sellers can spend more time on this than I can, and it’s worth the effort to coach them so that you get the best images possible.

Here’s a helpful flyer to give to your clients. Enjoy!

Staging Tips

Your Partner in Real Estate Photography